Sign In To The Admin Panel
Goal: Reach the WebBlocks CMS admin panel and understand what you are looking at.
Time: 1 minute
You need: Your site address and an account created for you by your site administrator
Steps
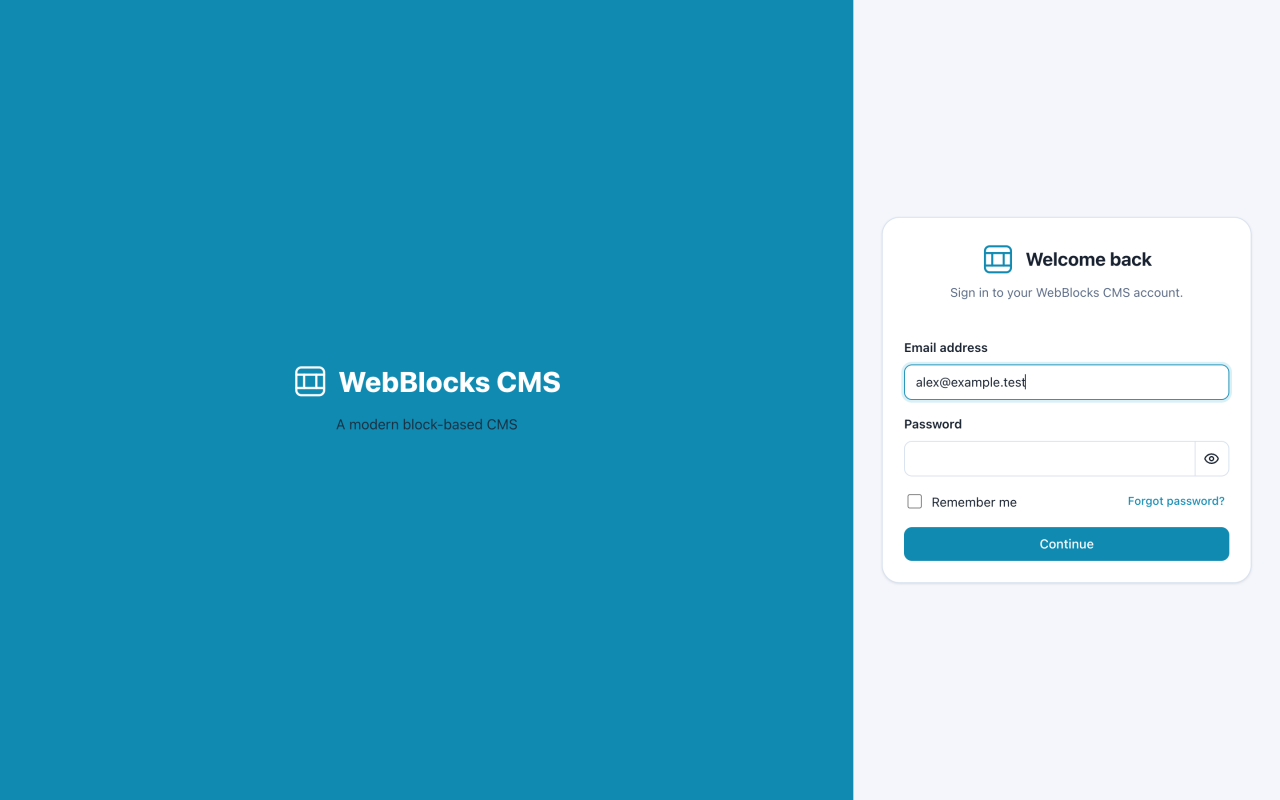
- Open your site address followed by
/webadmin. For the example site in these guides that isatlas-studio.test/webadmin. - Enter your Email address and Password, then select Continue.
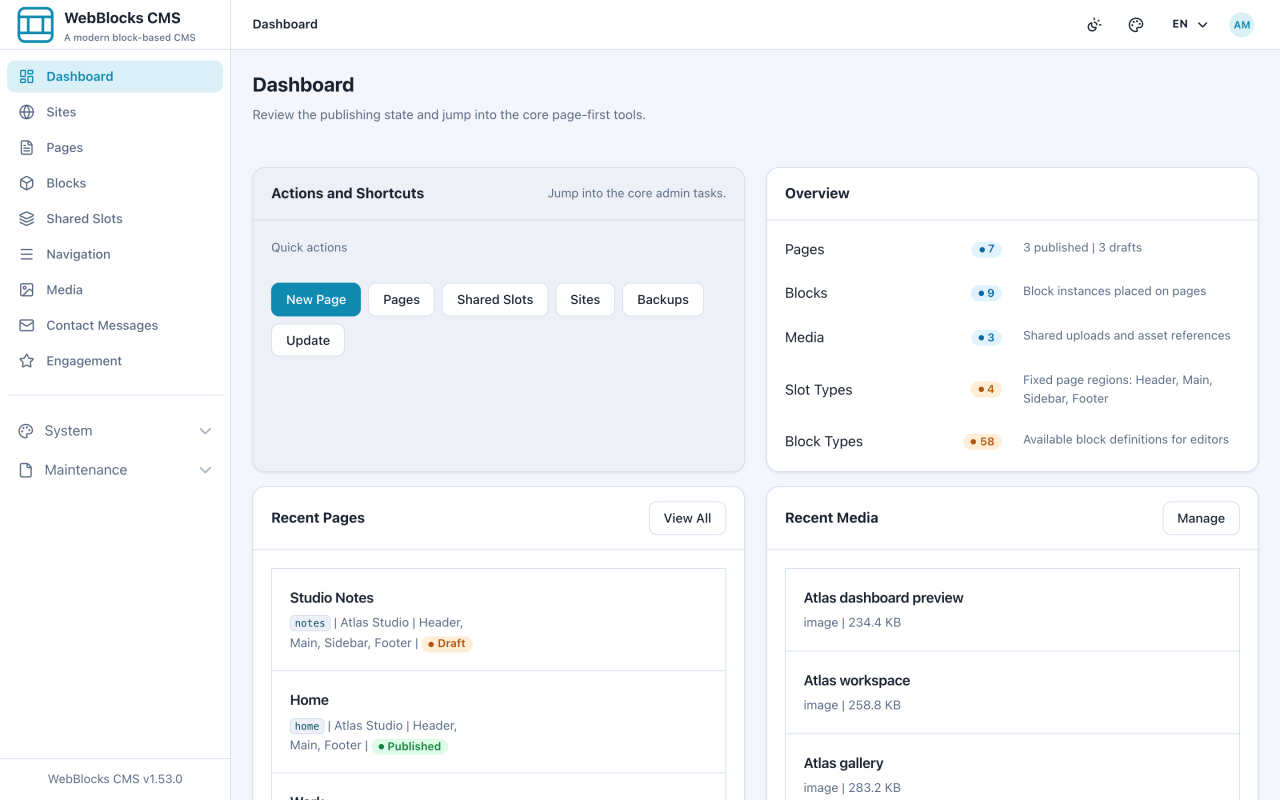
- You land on the dashboard. The left sidebar is your main navigation, and Quick actions puts the common tasks one click away.
What Is Where
The four areas you will use most in this series:
- Pages — every page on the site, and where you create new ones.
- Media — images, videos, and documents you upload once and reuse.
- Navigation — the menus visitors click.
- Shared Slots — areas such as the header and footer, built once and reused on many pages.
System and Maintenance are for site setup and operations. You do not need them to write content.
Notes
- If the sidebar shows fewer items than a colleague's, that is your role, not a fault. An editor sees content areas; a site admin also sees site settings; a super admin sees the whole installation, including Sites and System.
- Working on an installation with more than one site? Check which site is selected before you create anything. Pages belong to one site.
- To change the admin panel's language, use the language button in the top bar. It changes the admin interface, not your site content.