Code And HTML Blocks
Goal: Present a code sample, and understand the one block that can break a page.
Time: 3 minutes
You need: A page and something to show
Steps
- Select Add Block, then choose Code.
- Fill in Title, and use Filename / Language Label for the small label above the sample — a filename reads better than a language name.
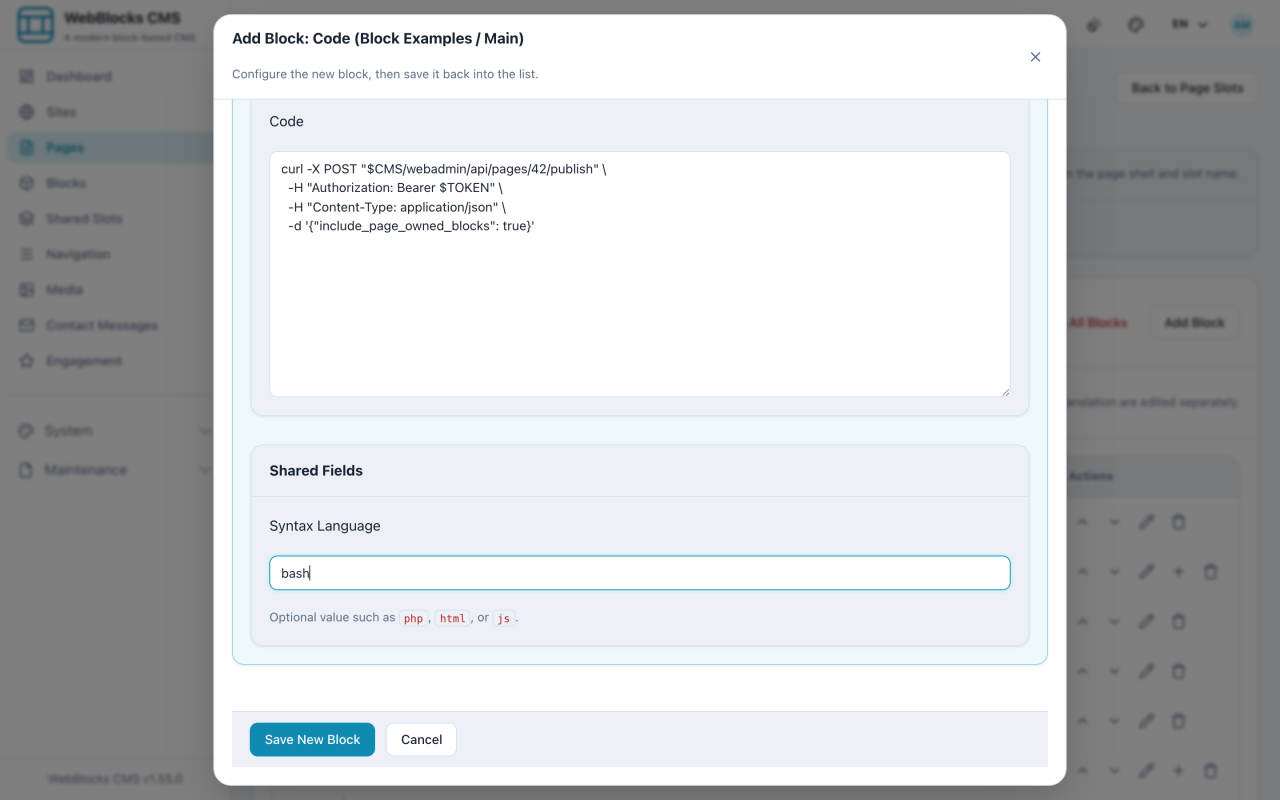
- Paste the sample into Code, and set Syntax Language.
- Select Save New Block.
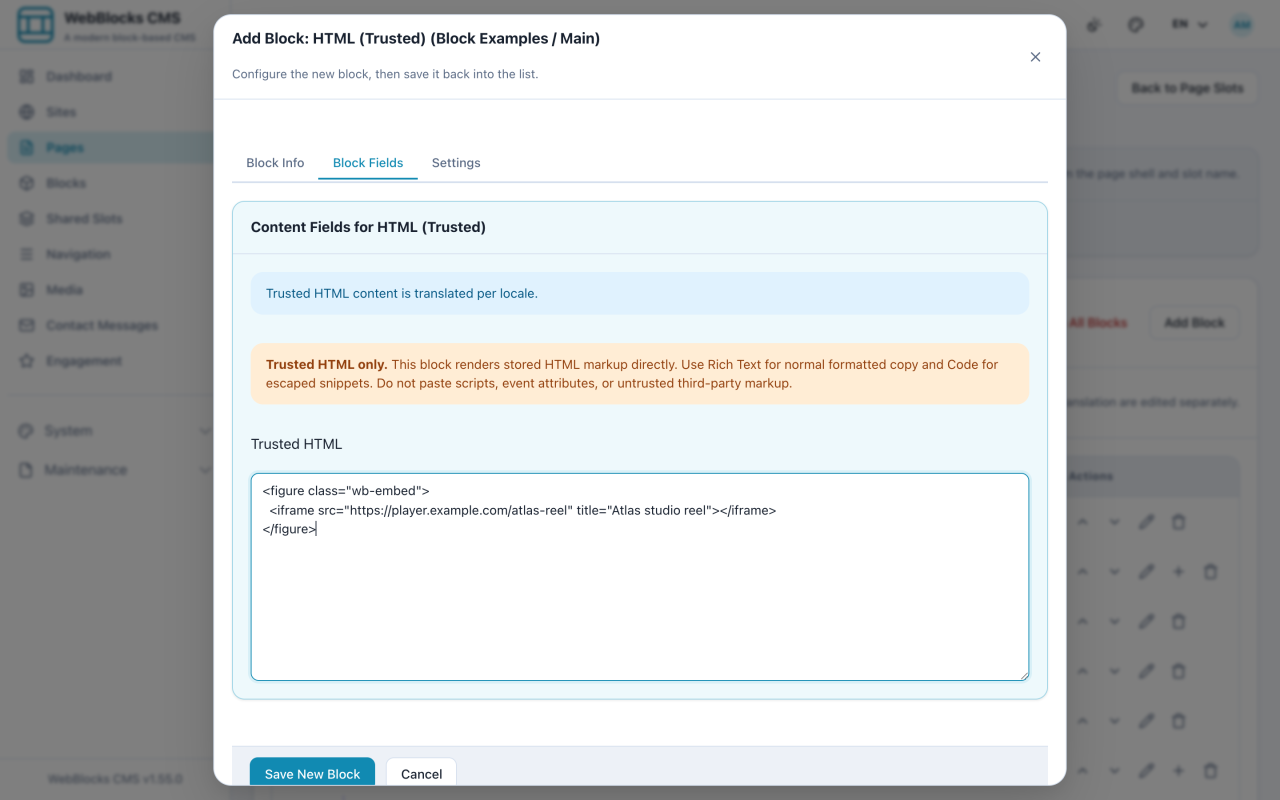
- For markup that no block can express, select Add Block and choose HTML (Trusted).
- Paste your markup into Trusted HTML and select Save New Block.
Read This Before Using The HTML Block
The block is called HTML (Trusted) because the CMS stops checking at that point. What you paste is what renders.
That means a stray unclosed tag can break the layout of the whole page, pasted tracking code runs on every visit, and an embed from a site you do not control can change what it serves you later. None of it adapts when the site design changes.
Before you reach for it, check: is there a real block for this (video, audio, download, gallery, table, and contact form all exist)? Is the embed provider one you would be comfortable seeing in your markup a year from now? Would a developer rather add a proper block type? Use it when the answer to all three is no, and keep the snippet as small as it can be.
Notes
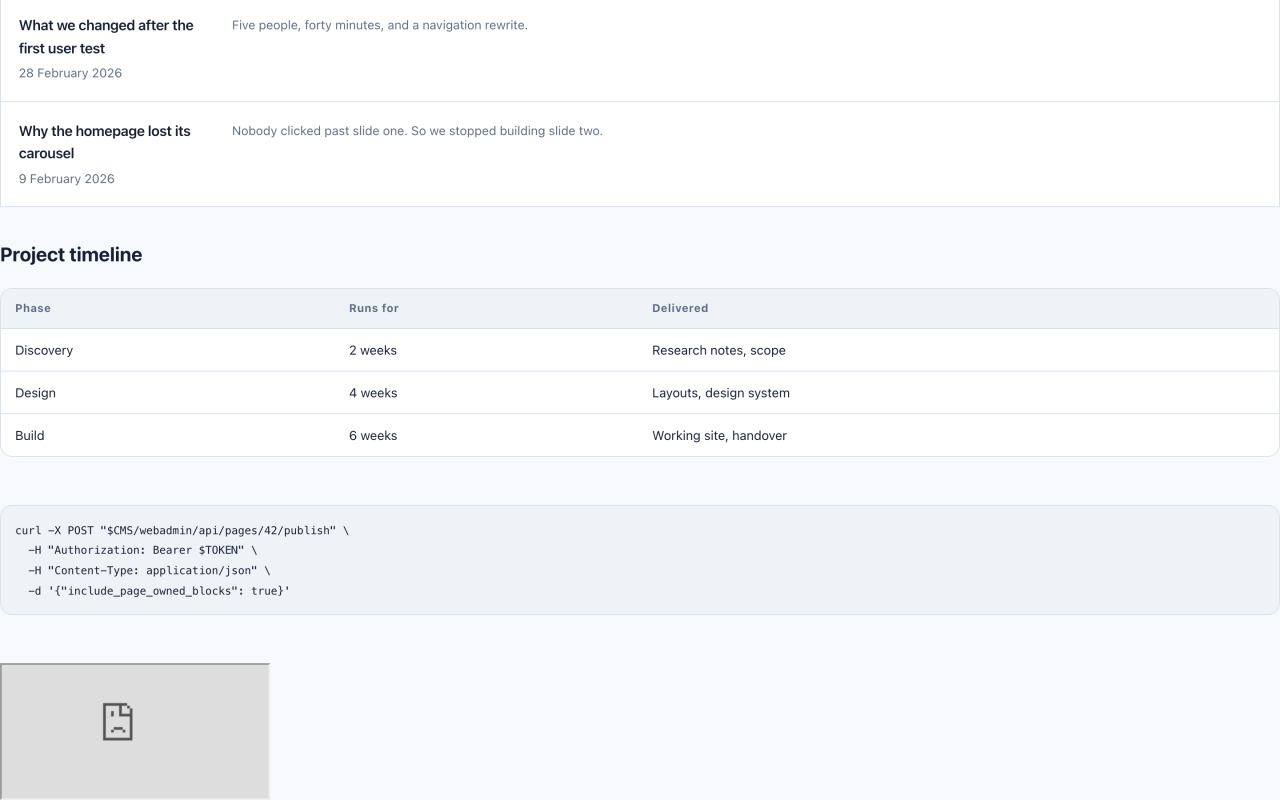
- Code is for showing code to a reader. It never executes anything, and it is the right block for every snippet in documentation.
- Syntax Language only affects highlighting. Leaving it empty renders the sample as plain text.
- The filename label is free text:
publish.sh,composer.json, orTerminalall work. - Long samples scroll horizontally rather than wrapping, so trim yours to the lines that matter.