Alt Text, Captions, And Image Variants
Goal: Give an image the description it needs, and understand the sizes generated from it.
Time: 3 minutes
You need: An image in the Media Library
Steps
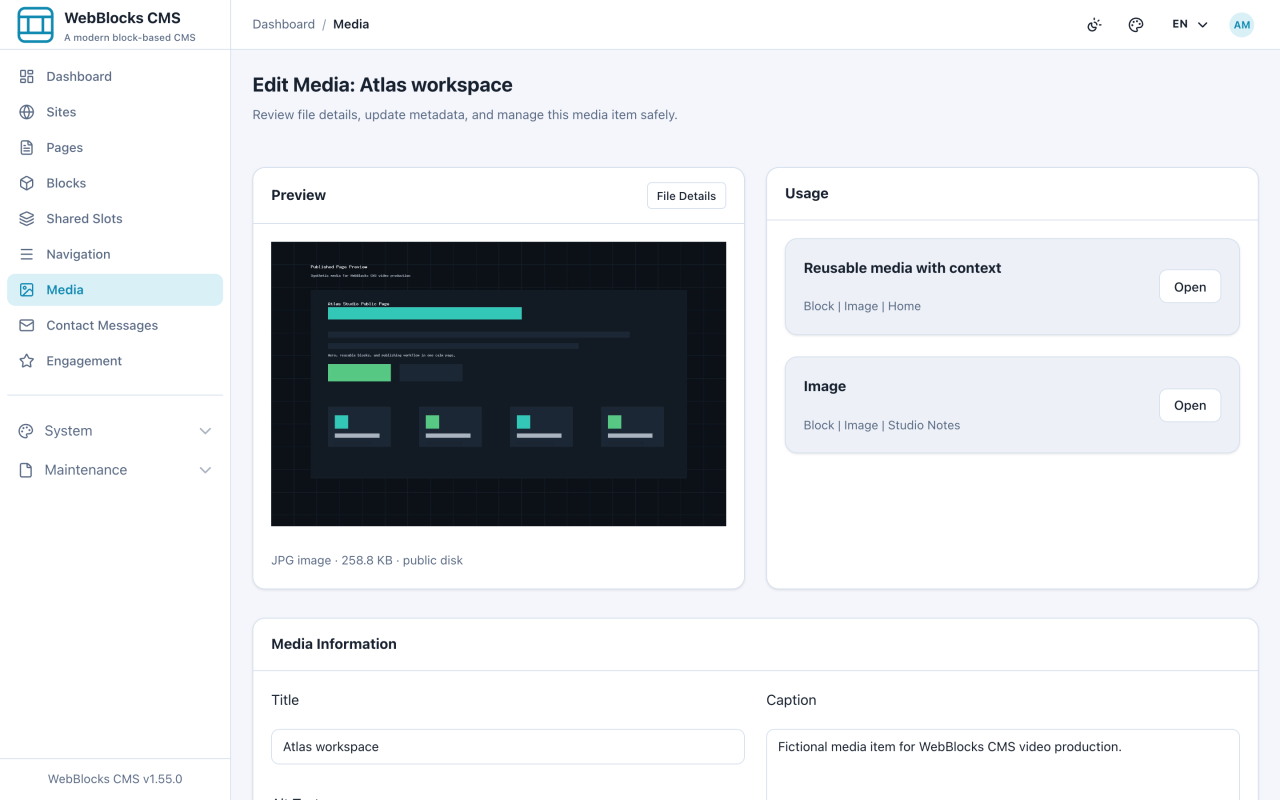
- Open Media and select the edit action on an image.
- Fill in Media Information: Title, Alt Text, Caption, Description, and the Folder it belongs in.
- Set the Focal point if the subject is off-centre. Crops keep that point in frame instead of cutting through it.
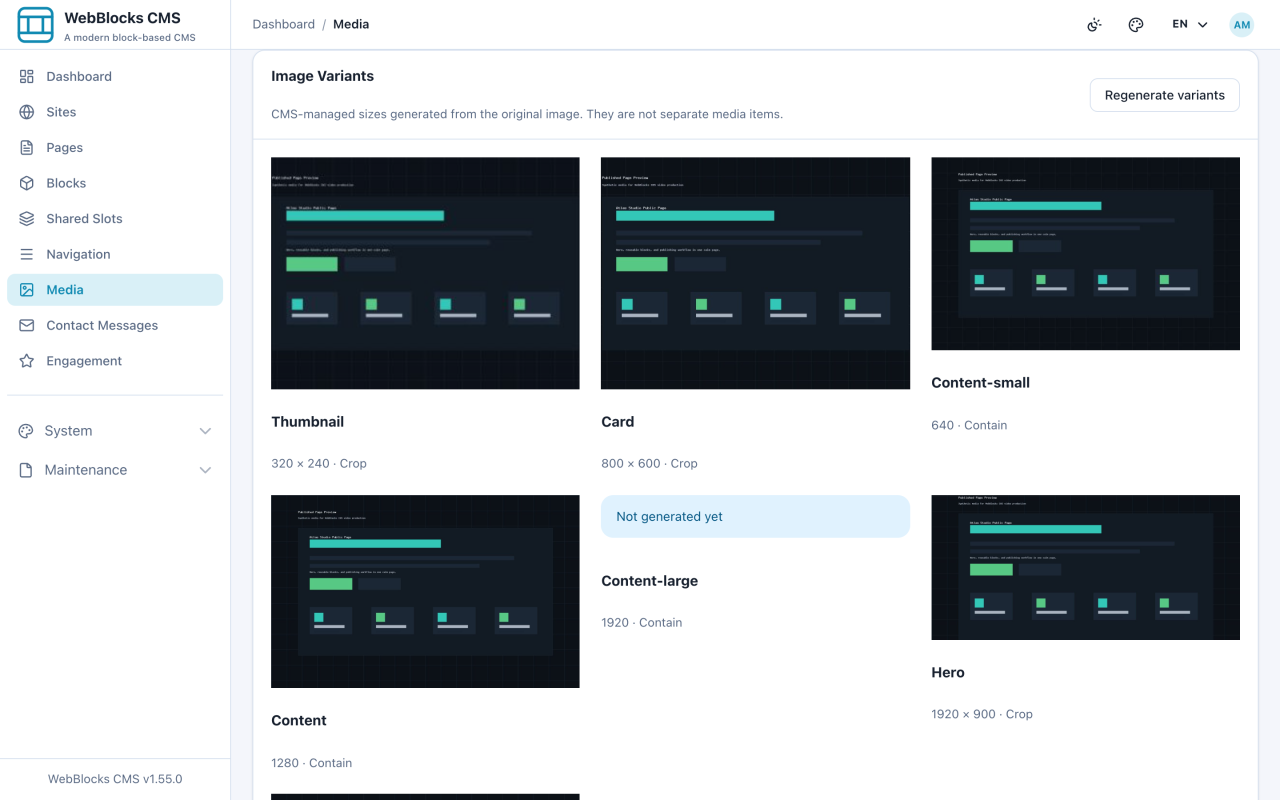
- Scroll to Image Variants. The CMS derives Thumbnail, Card, Content-small, Content, and Content-large from your upload and serves whichever fits the visitor's screen.
- If you replace the file or change the focal point, select Regenerate variants.
Alt Text, Caption, Description — Which Is Which
- Alt Text — screen readers, and anyone whose image fails to load. Write it for someone who cannot see the picture.
- Caption — every visitor, printed under the image. Write the context the picture does not carry by itself.
- Description — only you and your colleagues, inside the admin. Write it so you can find the file again in six months.
Notes
- Alt text set on the media record is the starting point. A block can override it, because the same photo can mean different things in different places.
- Alt text and caption are stored per language; the file itself is shared across all of them.
- Do not repeat the caption in the alt text. A screen reader reads both, and hearing the same sentence twice is worse than hearing it once.
- Variants are generated on upload. If images look soft, check what you uploaded before blaming the resizing — the CMS cannot add detail that was never there.