Add A Language To A Site
Goal: Make a second language available so pages can be translated into it.
Time: 3 minutes
You need: Super admin access
Steps
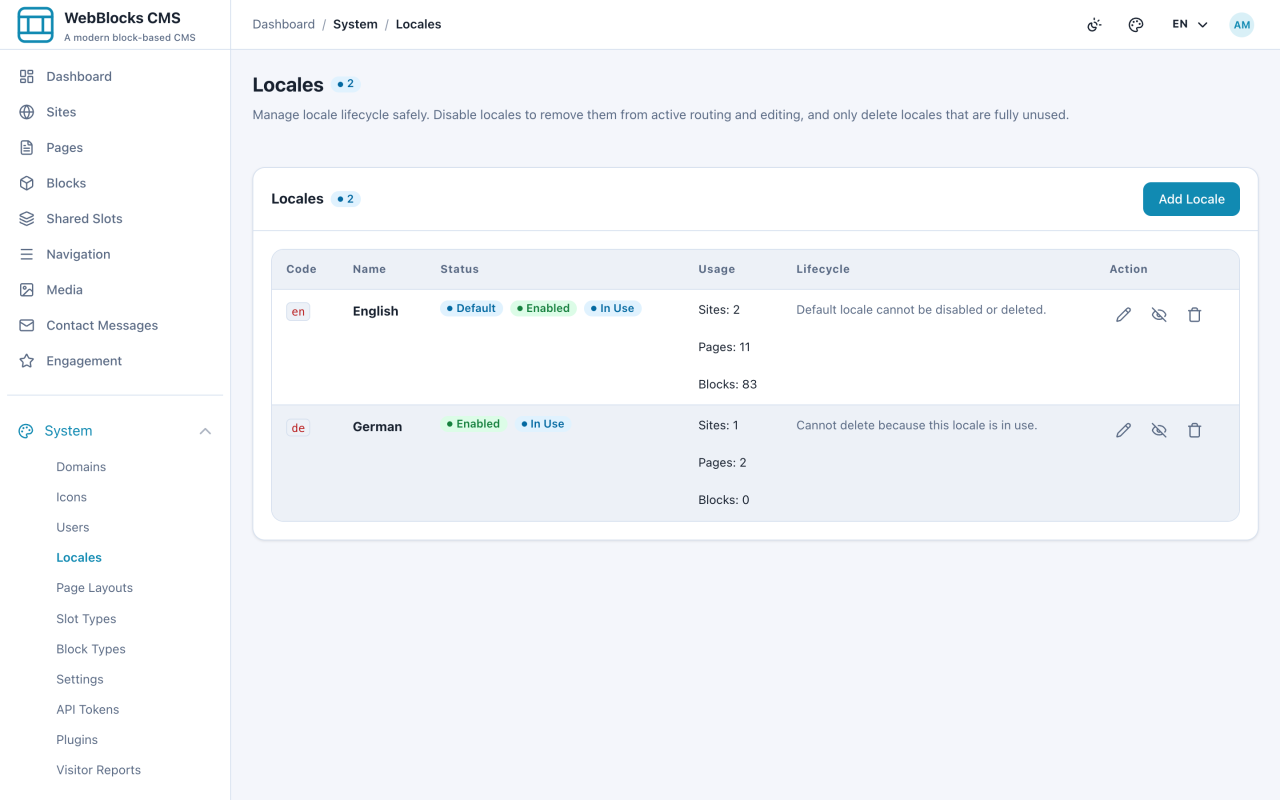
- Select System → Locales. This is the installation-wide list of languages that exist at all.
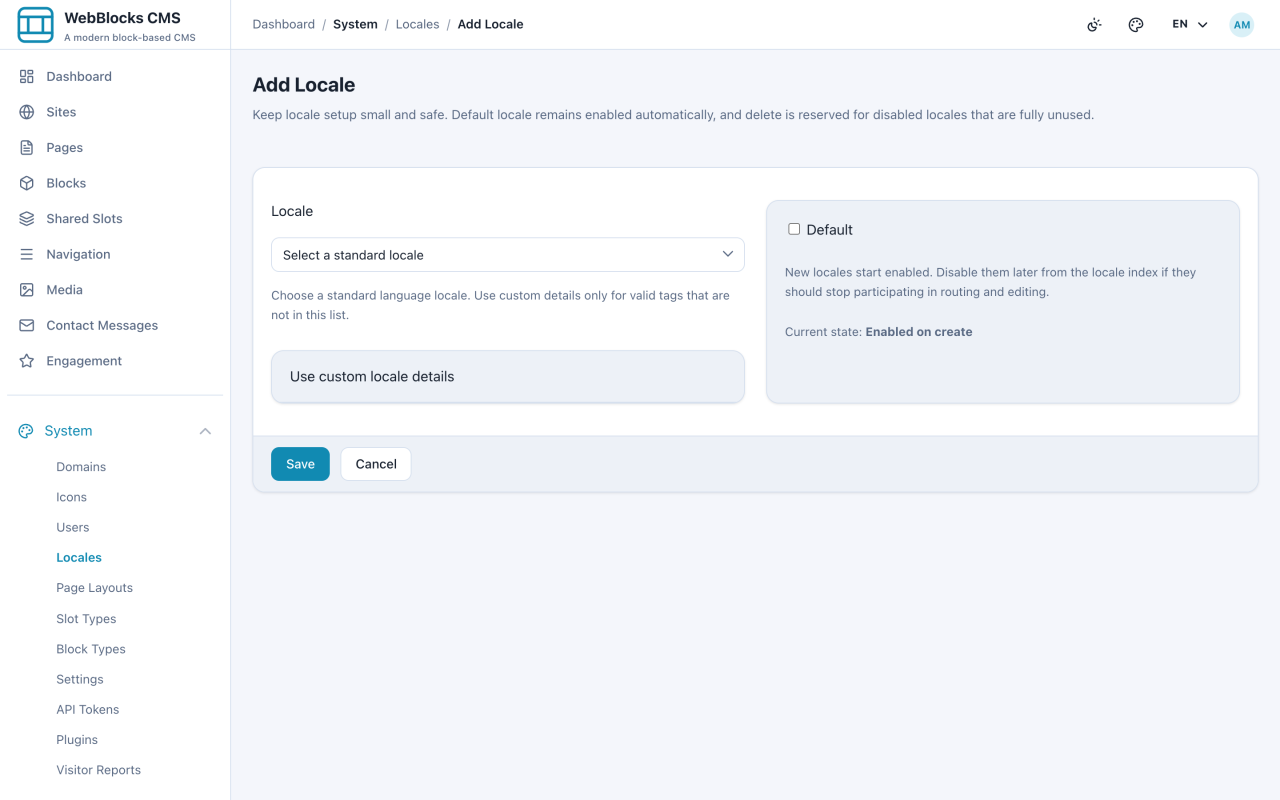
- If your language is missing, select Add Locale and register it.
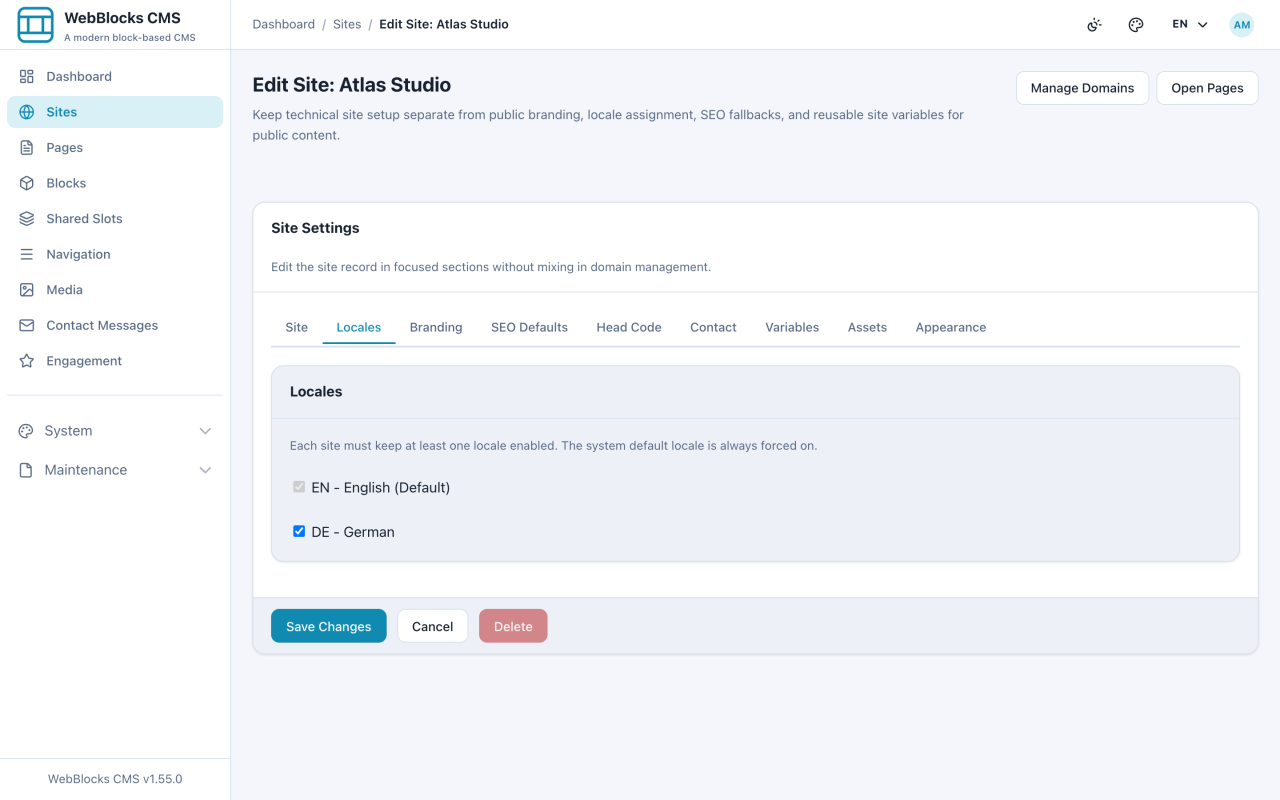
- Now enable it for the site. Open Sites, edit the site, and go to the Locales tab.
- Tick the languages this site publishes in, then select Save Changes.
Two Levels, On Purpose
Installation locales are the languages that exist. Site locales are the ones a particular site actually publishes in.
A multisite installation might know about five languages while the German subsidiary's site publishes in one. Registering a locale does not put it on any site; that is the second step, and it is deliberate.
Notes
- Each site must keep at least one locale enabled, and the system default is always on. The CMS will not let you strip a site down to nothing.
- Adding a language does not translate anything. Existing pages keep their current language and gain the option of a translation.
- The site's first locale is its default. Visitors who ask for nothing in particular get that one.
- This is not the same as the admin interface language, which each person sets for themselves in their profile.